After completing this lesson, you’ll be able to:
In this lesson, you will:
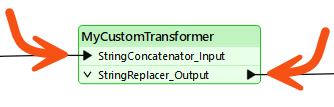
Like a normal FME transformer, a custom transformer has several input and output ports:
These input and output ports are defined by input/output objects in the custom transformer definition itself:
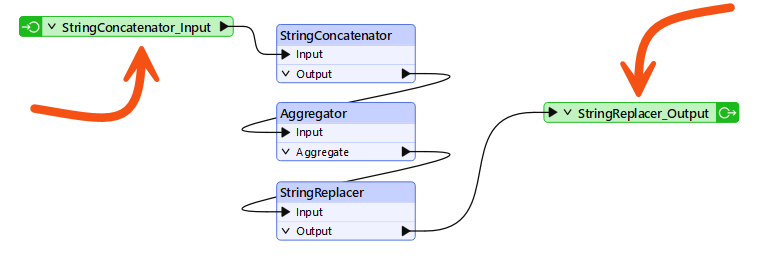
You can rename these input/output objects. These changes will appear when you view the custom transformer on the canvas. You can double-click the object, choose Rename from the context menu, or press F2 to rename the object.
For example, here, the user pressed F2 and renamed the input port from StringConcatenator_Input to simply Input:
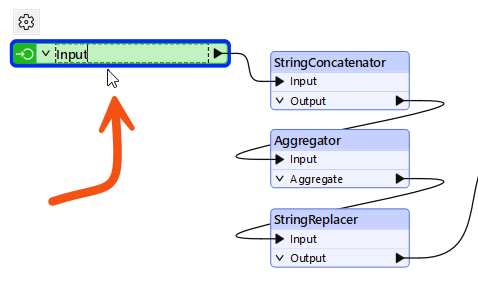
Renaming the input and output ports helps make the custom transformer's intentions more explicit; for instance, it helps the user understand what data type is required as input.
For example, after editing, the transformer might look like this:
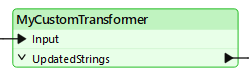
Here, the user renamed the input port to Input. Renaming it to "Strings," "Lines," or "Raster" (for example) would help guide other transformer users as to what data is required.
However, they renamed the output port to illustrate the emerging data type.
Besides renaming ports, adding new ports to a custom transformer is possible.
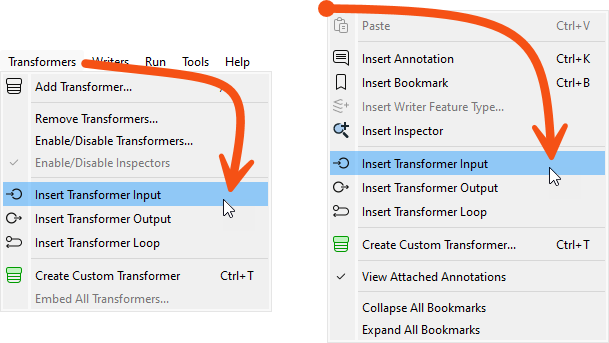
To do so, select Insert Transformer Input (or Output) from either the menubar or the canvas context (right-click) menu:
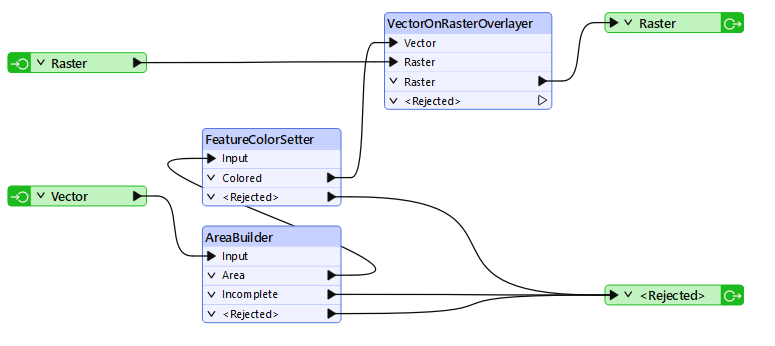
For example, here, a user has ports to handle two streams of input data and two streams of output (one port for the required output, another that handles rejected records:
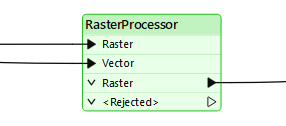
This means that each instance of the custom transformer has two input and two output ports:

In the last exercise, Sven turned a colleague’s population density workspace into a custom transformer called DensityEvaluator. His workspace reads Vancouver neighborhood boundary data and writes population density values for 2001 and 2011. Sven wants to use that one custom transformer for both years and make its output naming generic, so any project can reuse it.
In this exercise, you will:
The workspace started with two ExpressionEvaluators and now has one ExpressionEvaluator and one custom transformer. You will replace that remaining ExpressionEvaluator with a second instance of the DensityEvaluator.
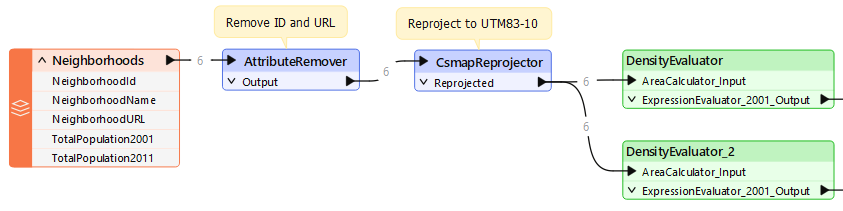
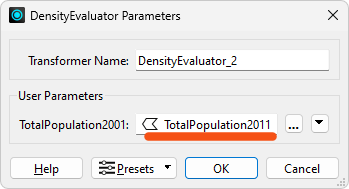
The second instance still points at the 2001 population attribute it inherited from the first. Changing it to the 2011 attribute is what makes the two instances calculate different years.
This run confirms whether both instances process the data correctly. It also surfaces a naming problem that you will fix in the next step.
PopulationDensity2001, regardless of the data being processed. Making that name generic is the next improvement.Editing the definition changes every instance at once, which is the main payoff of building a custom transformer. Renaming the transformer and its result attribute drops the hard-coded 2001 from both instances.
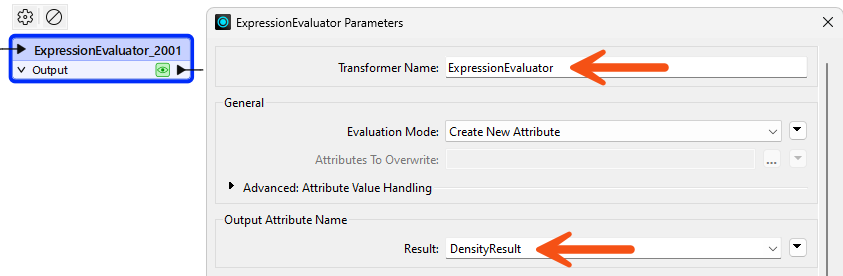
DensityResult attribute, so one edit fixed both of them.The port names still carry the AreaCalculator prefix from the transformers you selected when you built the definition. Clear port names tell anyone using the DensityEvaluator what kind of data each port expects.
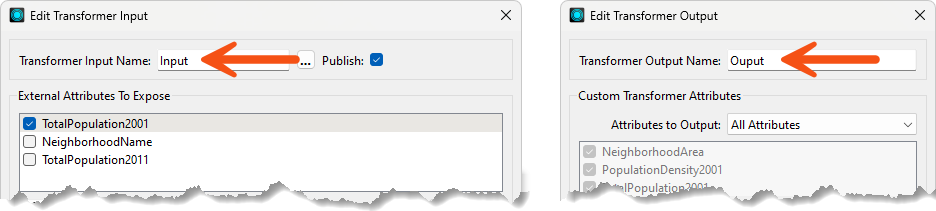
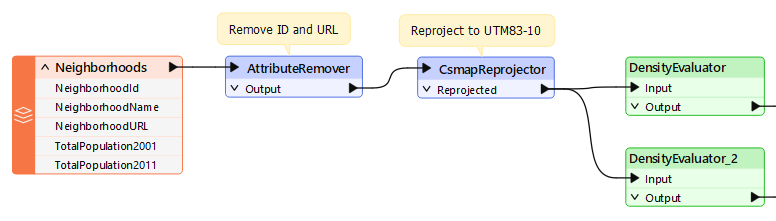
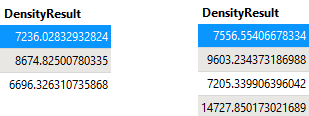
Both instances now share one generic output attribute, so the only difference between them should be the density values they calculate. That is the payoff of editing the definition once instead of configuring each instance separately.
DensityResult attribute, regardless of the year they process.